JOHAN AXDORPH
ANIMATOR & TECH ARTIST
Our game chain shotgun is out on itch.io!
Click here to check it out
WELCOME!
LET'S MAKE YOUR IDEAS REALITY
Showreel below
Projects
Feel free to take a look at my work, which has included projects within several different industries and disciplines of 3D art and visualisation.

Product Visualisation

Game Animations & Rigging

VFX & Tech Art
Cinematics
Click on one of the projects below to view it.
SNRGY: SOLDR

SNRGY: NOORA

1.

Screenshot from the Kickstarter

The CAD-file imported into Blender

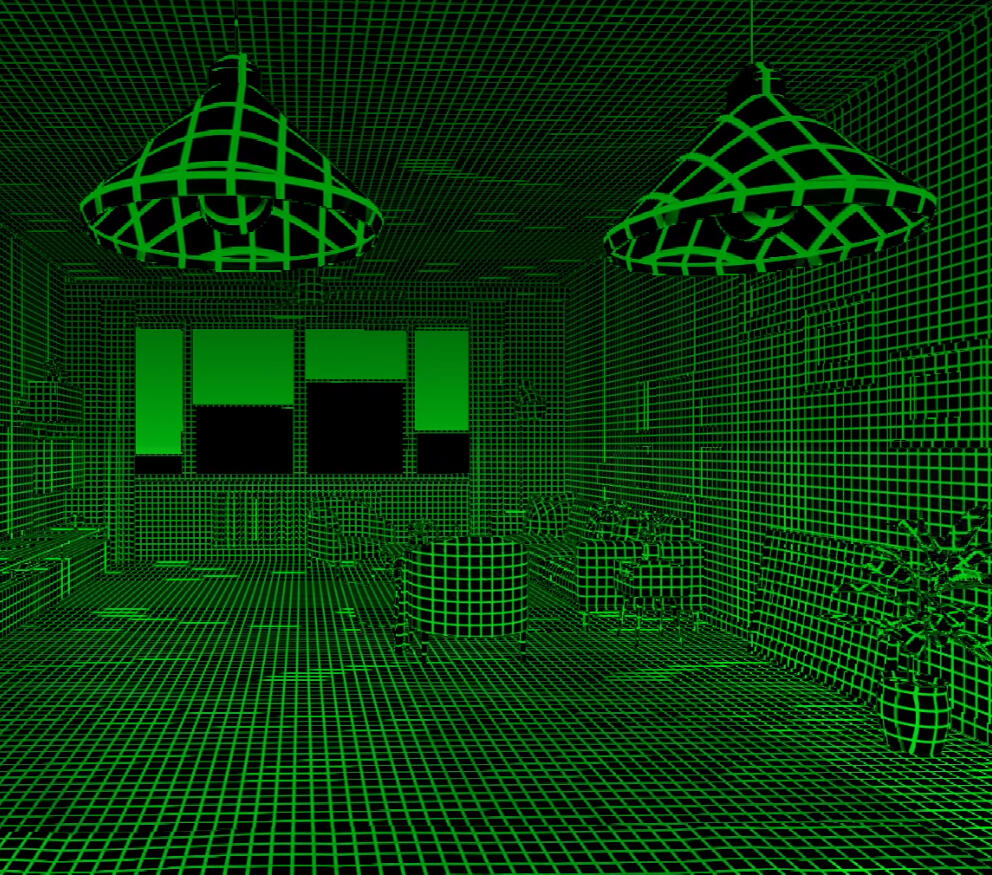
Wireframe of the CAD-file in Blender


Click the links below for my teammates' portfolios, and more info.
Melissa Ritchie
Robert Sandh
Joanna Anderö
SNRGY
SOLDR Kickstarter
SNRGY studios: SOLDR
March - April 2025 / Blender
Click here to see my work on the NOORA project

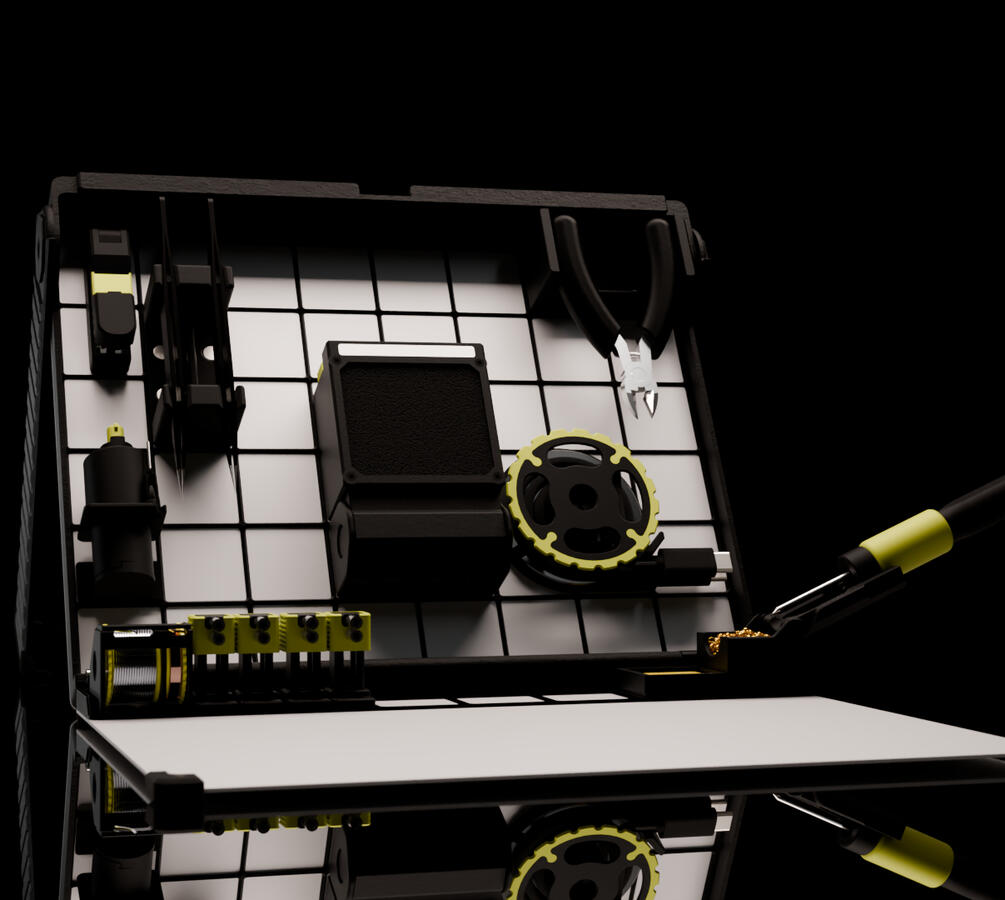
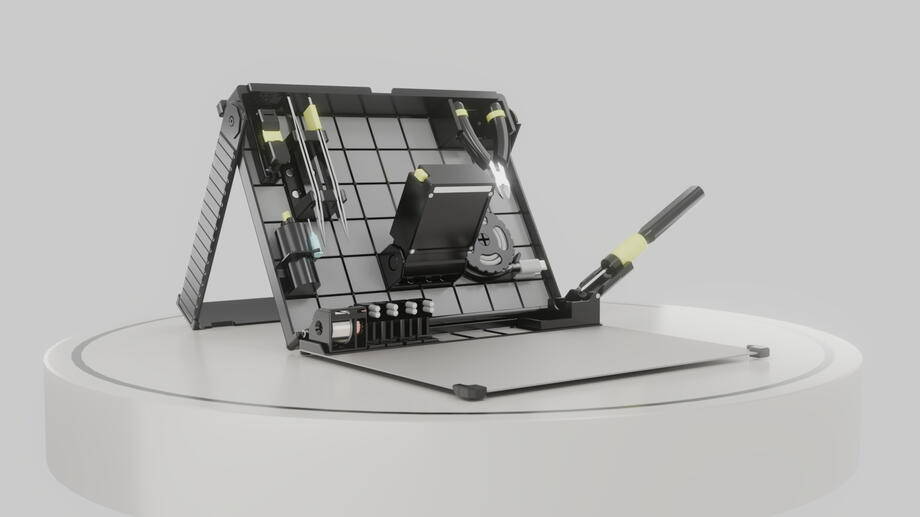
From late March until the end of April, me and 3 of my classmates at YRGO (Melissa Ritchie, Robert Sandh and Joanna Anderö), had the opportunity to work as a team at SNRGY Studios in Gothenburg, with visualisation and marketing material for some of their products.They had 3 different projects for us to work on, so our 4 person team was split up into 3 groups.Although we all helped eachother and contributed to all projects, I got the main responsibility of both producing and delivering on the SOLDR project.The SOLDR is a portable kit and work station for soldering, and got funded by 114 times its goal on Kickstarter, by over 3600 backers.The material that SNRGY wanted from me was animated videos they could use on their website, and in future marketing.I was handed the existing CAD-files of the SOLDR itself, and got to work on presenting a few ideas to build upon.
2.
While staying in close contact with the Chief Marketing Officer (CMO), and going over different ideas, I set out to create a few visualisations and proofs of concept.Since CAD-files structure often don't translate well into Blender, I started out merging, parenting and renaming all the objects in the scene for an easier and more organized work flow.I also 3D modelled some parts of the kit that were not in the CAD-files, as well as created and applied all the kit's different materials for the final result.After that I experimented with some different concepts in both pictures and animations, in order for the CMO to be able to narrow down which look and feel they were after.

Rendered pictures
Clean Apple-like look
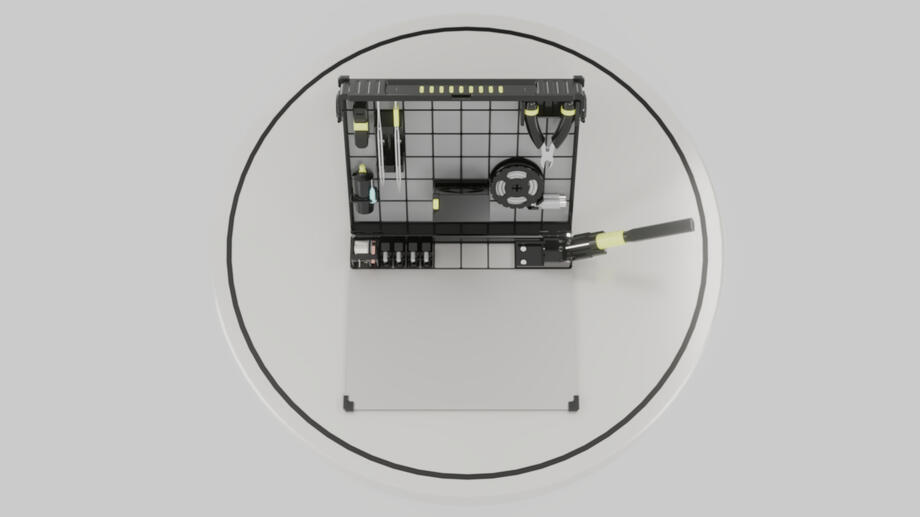
Clean Apple-like look from above

Exploded isometric

Exploded wireframe

Mix of rugged and clean

Steel wool


The steel wool above was one of the 3D models I created.
Animations
3.
After some feedback loops, we arrived at a look. I then got on to animation, shot composition and rendering.
The end result was a number of animated video clips of the SOLDR, to be used in their marketing.
The video below shows the finished video clips in one sequence.
1.
SNRGY studios: NOORA
March - April 2025 / Blender

Click here to see the NOORA website
Click here to see my work on the SOLDR project
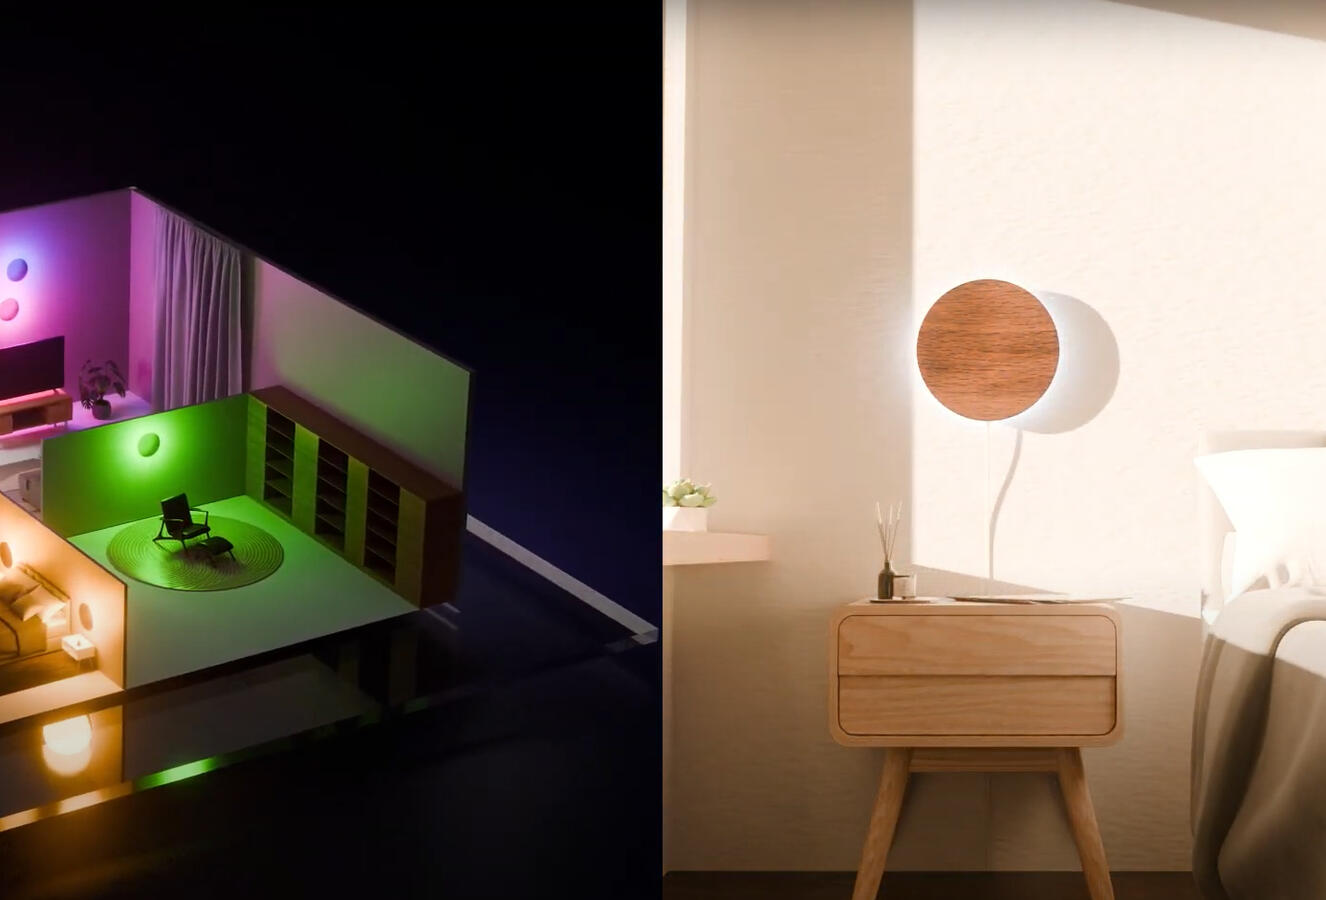
The NOORA is a smart touch light, developed by SNRGY Studios in Gothenburg, Sweden. This was trhe other project aside from the SOLDR, that I worked on as part of a month long school project of working towards a client.The NOORA is the company's latest product, and it needed marketing material in the shape of rendered 3D images and 3D animations, showing its functions and aestethics.This project in particular was mostly handled by my teammates Melissa and Joanna, but I contributed with 3D animation, scene cleanup, lighting and both 3D rendering and rendering optimization.The animations I worked on, together with Melissa and Joanna, can be seen further down below.
Click the links below for my teammates' portfolios, and more info.
Melissa Ritchie
Robert Sandh
Joanna Anderö
SNRGY
NOORA website

scroll down to see the videos
2.
Here are the 3 animations I worked on and contributed to.
Game animations & rigging
Click on one of the projects below to view it.
CHAIN SHOTGUN
OMUNI REBORN: ENTLING
1.

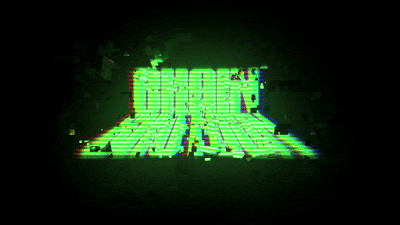
Animated game logo
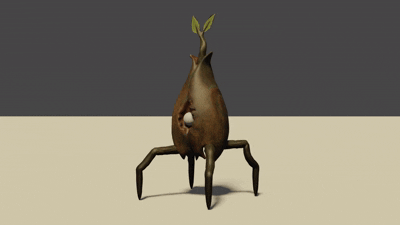
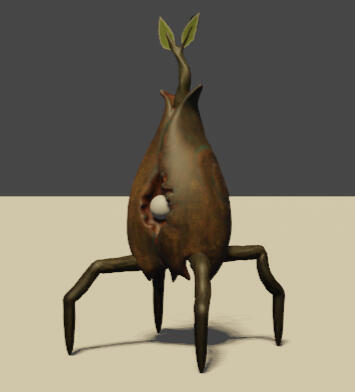
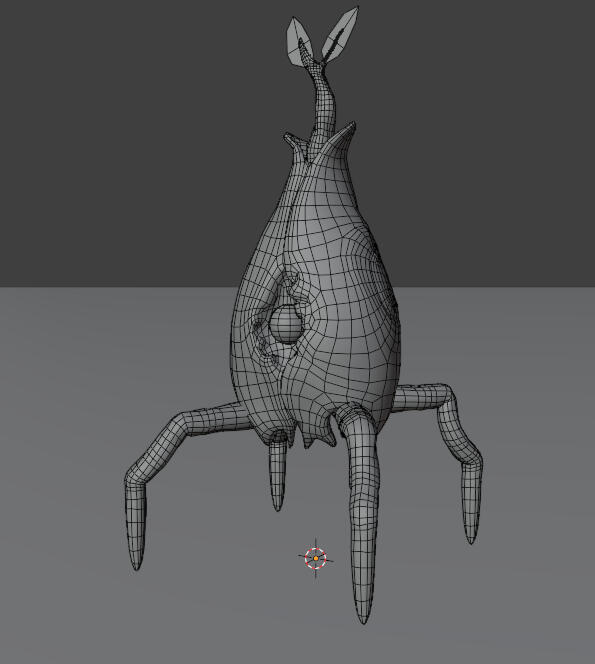
Crawler enemy model (no legs)
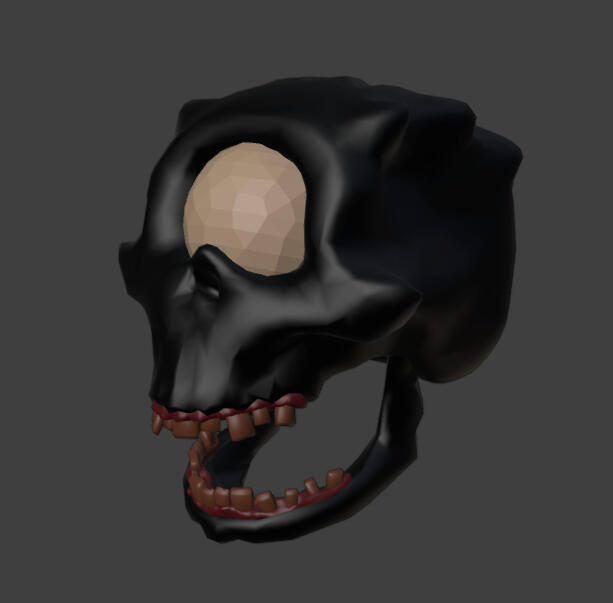
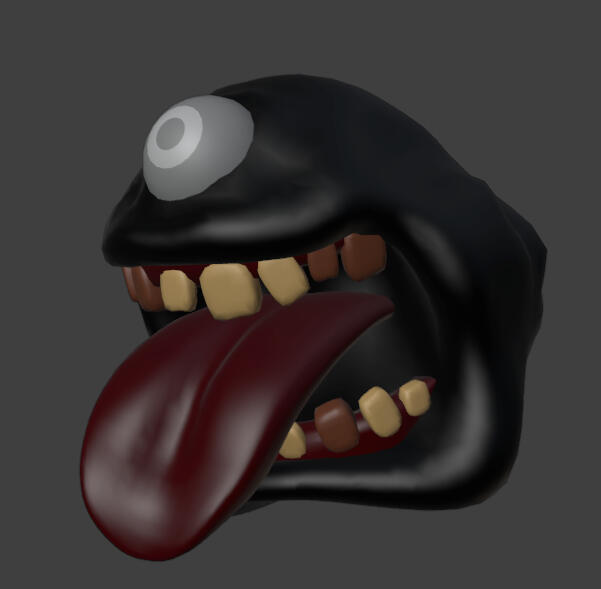
Skull enemy model


Above: Game logo animated by me in Premier Pro, as well as the 3D models of the crawler enemy (without legs), and the skull enemy (all modeling done by Olof Hedström).
Chain shotgun
2025 / Blender & Unity


After both having participated in Global Game Jam, and having a couple of our own game jams, me and a couple of my friends decided that we wanted to take the next step, and create an entire game together in our free time.We decided to make an FPS, with the twist that your only gun can carry multiple barrels with all different loadouts, which you can add to and change during the course of the game.We're calling the game Chain Shotgun, and I'm the animator responsible for all animations and rigging.Scrolling down on this page, you'll see how I've rigged and animated the enemies.Version 1.0 of the game is set to release during summer 2025.
2.
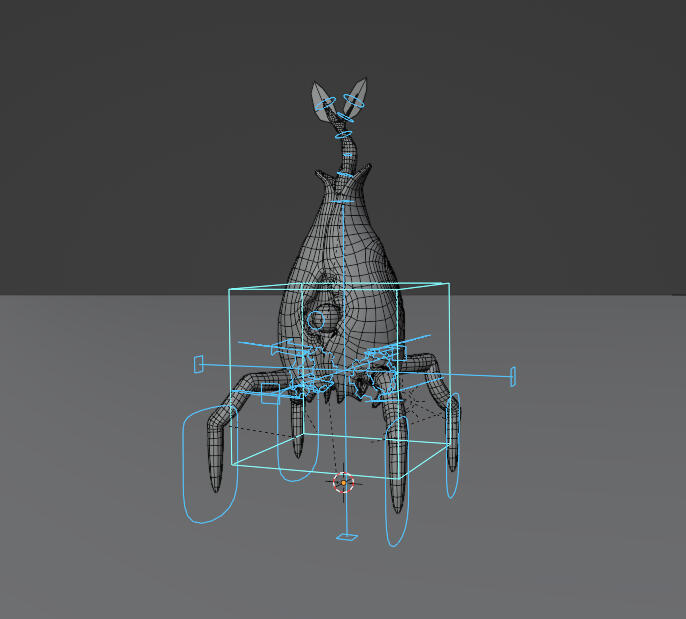
Rigging the crawler enemy was initially more difficult than I expected. Since the crawler is made of a pretty viscous and slimey material, I knew that I had to rig it in a specific way.
I needed the rig to be able to animate the crawler with the right topology displacement and distribution.
This was in order to create the desired effect with the animation principle called Squash & Stretch.After many attempts and trial rigging, I arrived at a solution with several bendy bones chains and constraints connected to eachother, and controlled from certain base bones and controls.I applied the same idea to the tongue as well, in order to be able to animate it in an efficient way, without any animating restraints.The skull rig was, in comparison, much more straightforward. Since the skull, was supposed to be flying, had a simpler topology, and wasn't meant to be viscous, a rig that supported squash and stretch was not required as with the blob.A more simplistic rig with controls did the trick, which meant that the skull rig got finished much faster, in comparison to the blob rig.
Down below: The finished animations.

Crawler enemy rigged

Skull enemy rigged

Example of a Crawler animation graph

Example of a Skull animation graph


3.
Down below you can see the different game animations I created for both the crawler, and the skull.
To the left are all the animations as they are, and to the right are the same animations, but with the rigs showing.The reason why the blob has rigged legs is because the legs themselves will be animated in Unity with IK-chains, instead of keyframes.
Crawler - Idle
Crawler - Moving
Crawler - Attack
Crawler - Getting hit
Crawler - Idle (with rig)
Crawler - Moving (with rig)
Crawler - Attack (with rig)
Crawler - Getting hit (with rig)
Skull - Idle
Skull - Moving
Skull - Attack charging up
Skull - Attack release
Skull - Getting hit
Skull - Idle (with rig)
Skull - Moving (with rig)
Skull - Attack charging up (with rig)
Skull - Attack release (with rig)
Skull - Getting hit (with rig)
Animations in game, inside Unity.
Crawler to the left, and skull to the right.
1.

Game logo
Entling 3D model
Entling 3D model in wireframe


Click the link above to go to the game's homepage.
Omuni reborn: entling
2022 / Blender

In 2022 I was contacted by a passionate game developer in Canada, who was in the process of making the game Omuni Reborn.
He reached out to me and asked if I could help him out with rigging and animating a four-legged creature in the game, known as an entling.I told him I was up for it.
He then sent me the 3D model of the entling, and I got to work making this seed with four legs move.
2.
This was the first time I got to rig and animate a four-legged model, which meant that research had to be made before even the first joint/bone was placed.I looked at how other four-legged creatures and robots move in other games and animated movies. I felt I had found the right inspiration when I remembered an enemy from the Naughty Dog game Jak 2 (2003), a game I loved as a child and teenager.Even though it was a robot, the enemy known as a Blastbot with its animations, became my main inspiration for rigging and animating the entling.The rig is ultimately made up of a number of different Rigify-sample bones and chains, as well as simple bones and controls, which are parented and weight painted to facilitate the different animations.
Down below: The finished rig in different view modes.


My main inspiration, the Blastbot

The Blastbot as it appears in Jak 2


3.
Scrolling down below you can see the different game animations, both linear and cyclic I created for the entling
To the left are all the animations as they are, and to the right are the same animations, but with the rigs showing.
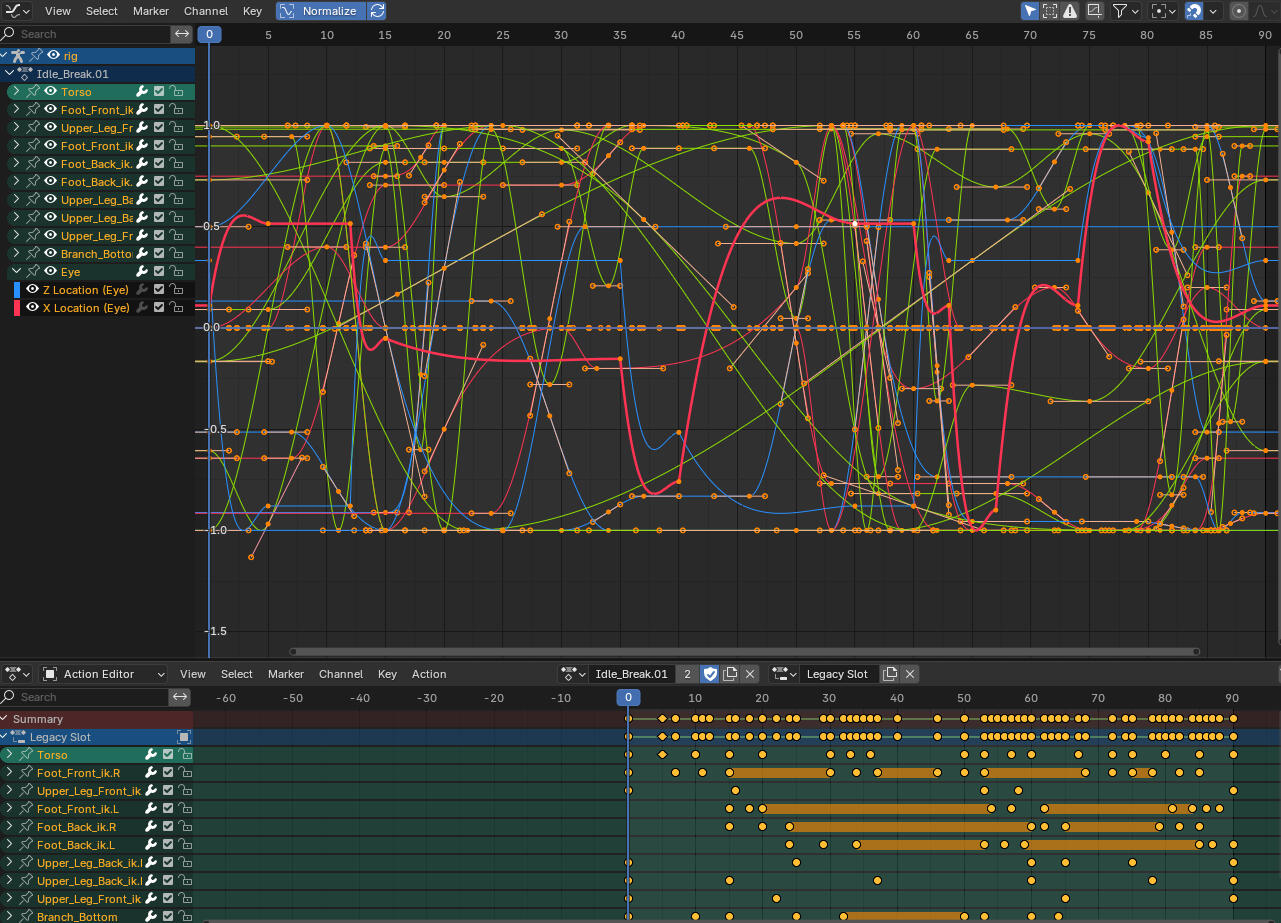
Pictured below: An example of the graph editor for one of the animations.
Further down: the animations.
Idle
Idle break
Walk cycle
Idle to Fighting Stance
Fighting Stance Idle
Getting Hit
Attack
Death
Idle (with rig)
Idle break (with rig)
Walk cycle (with rig)
Idle to Fighting Stance (with rig)
Fighting Stance Idle (with rig)
Getting Hit (with rig)
Attack (with rig)
Death (with rig)
It's all a simulation...

1.
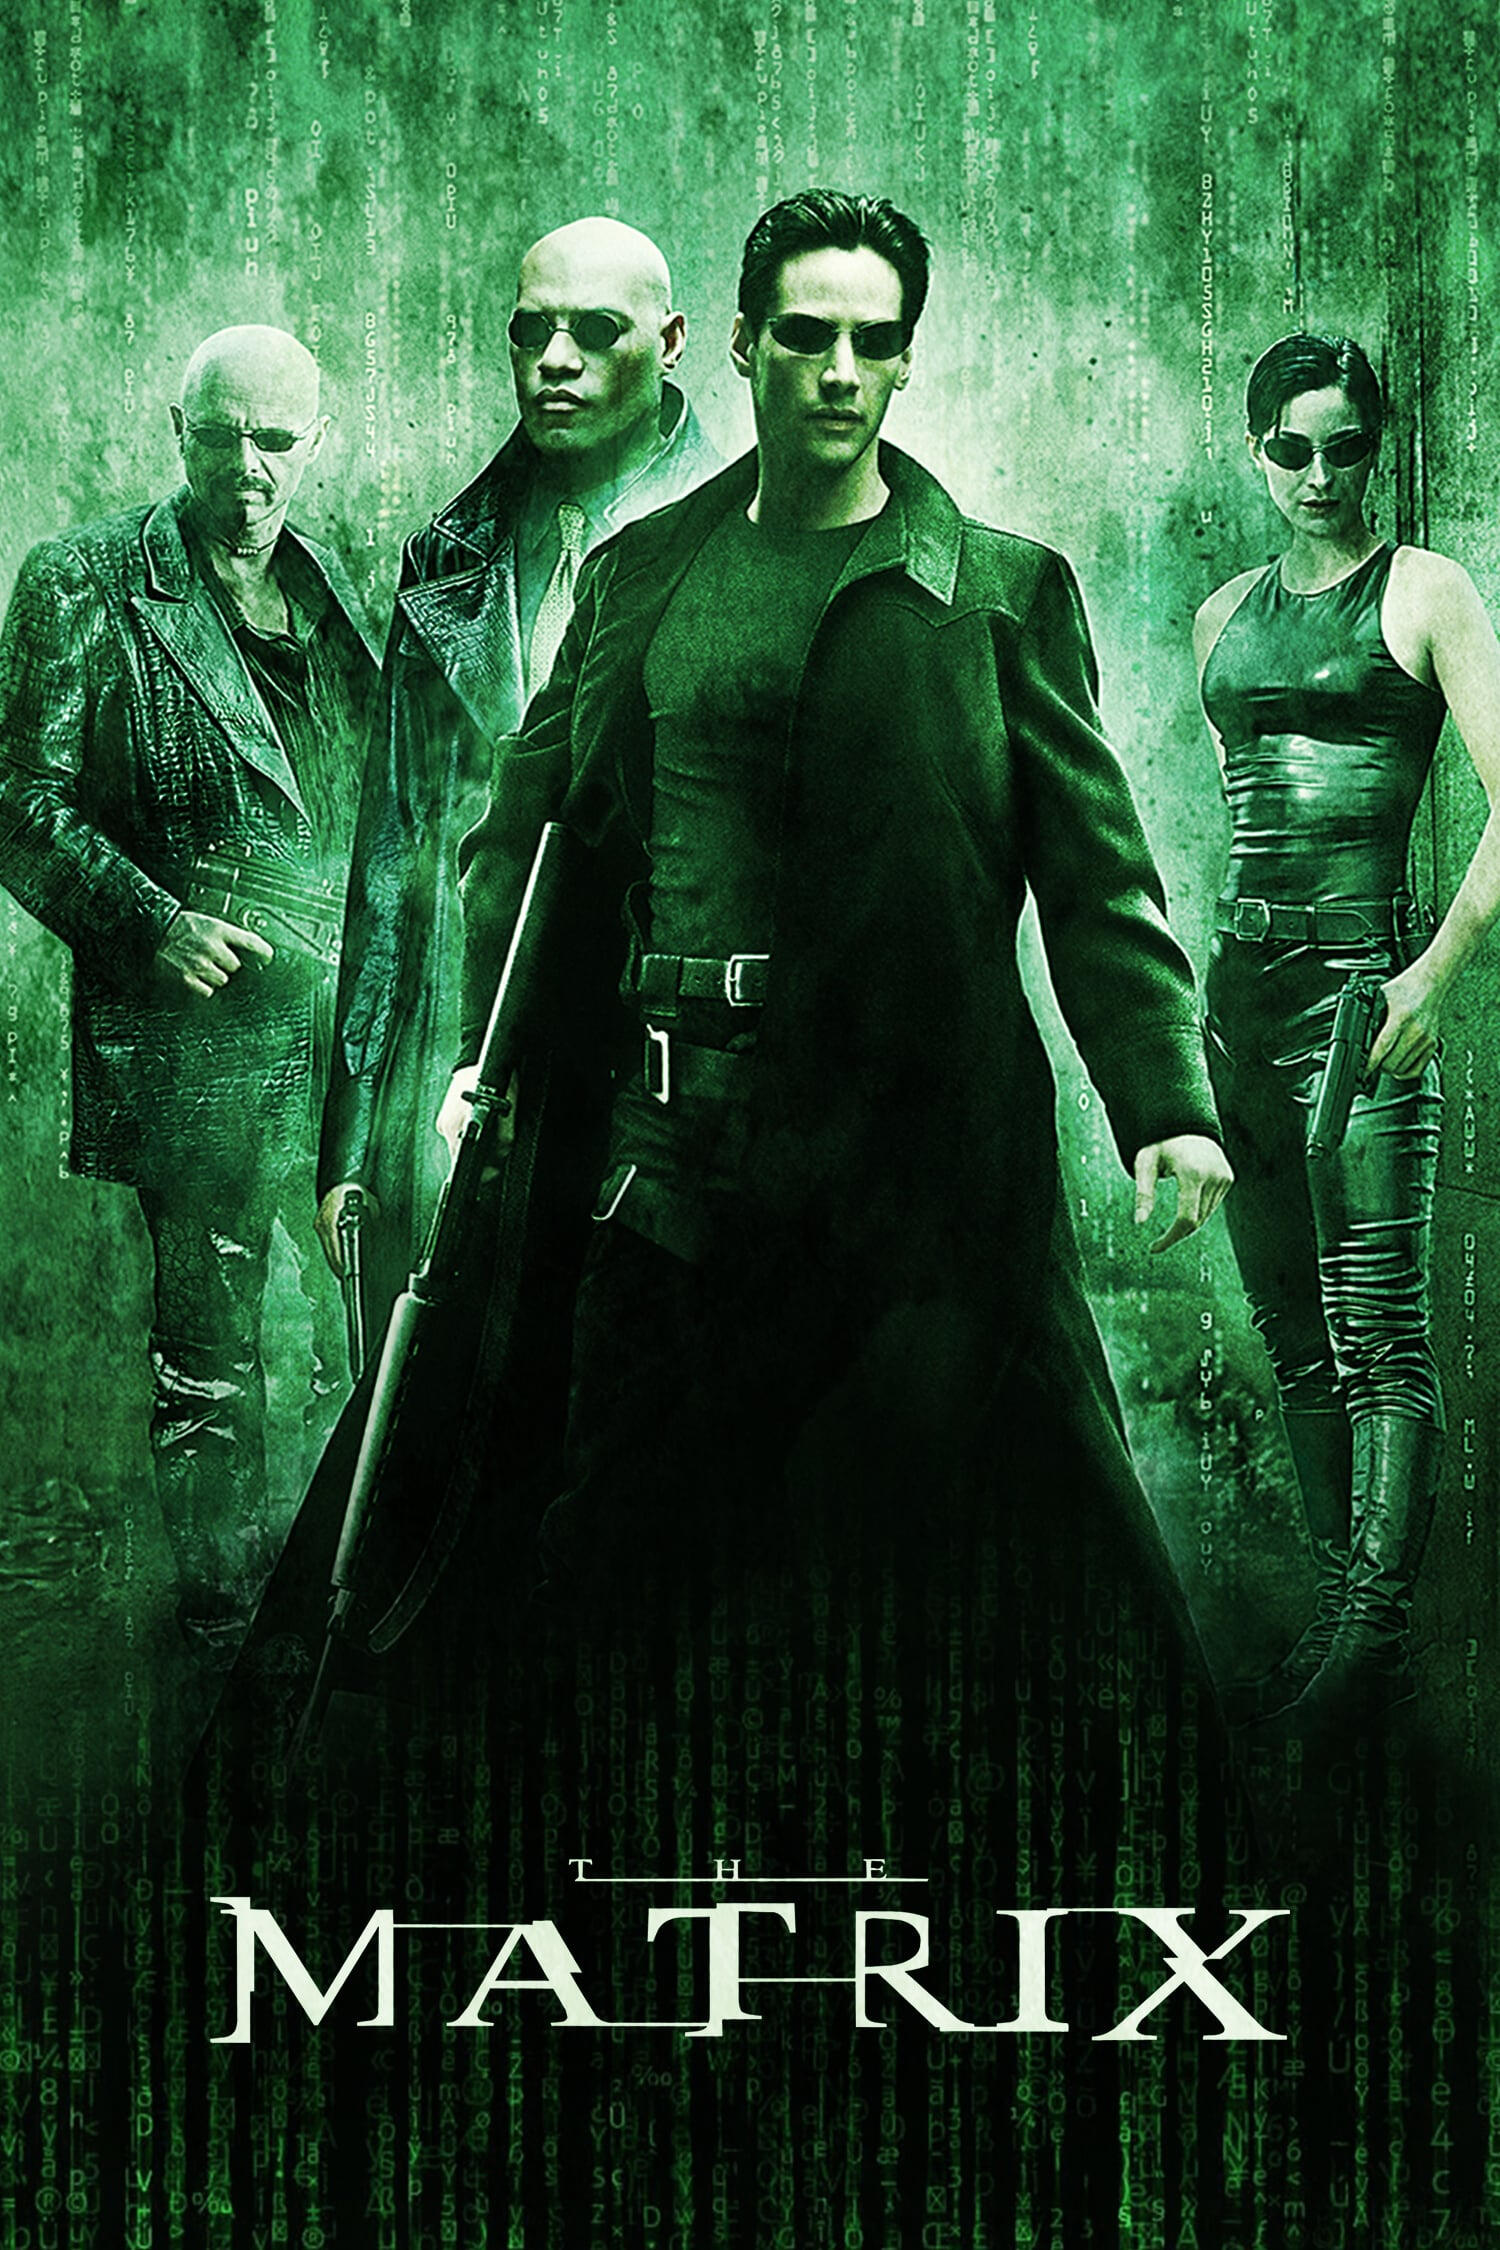
Movie poster of "The Matrix", released in 1999, which served as my main inspiration for this project.
it's all a simulation...
March.2025 / Unreal Engine 5

In this project I studied how shaders, post-processing and materials can work together in Unreal Engine 5.As a fan of visual storytelling and, I wanted to explore what kind of narrative I could create and convey with those visual tools, along with some narrative design.I settled on a narrative idea of "what is reality, and how do you know which reality is the real world?".My inspiration for the idea itself mainly came from the movie "The Matrix" (1999), but also from Plato's "Allegory of the cave".
2.
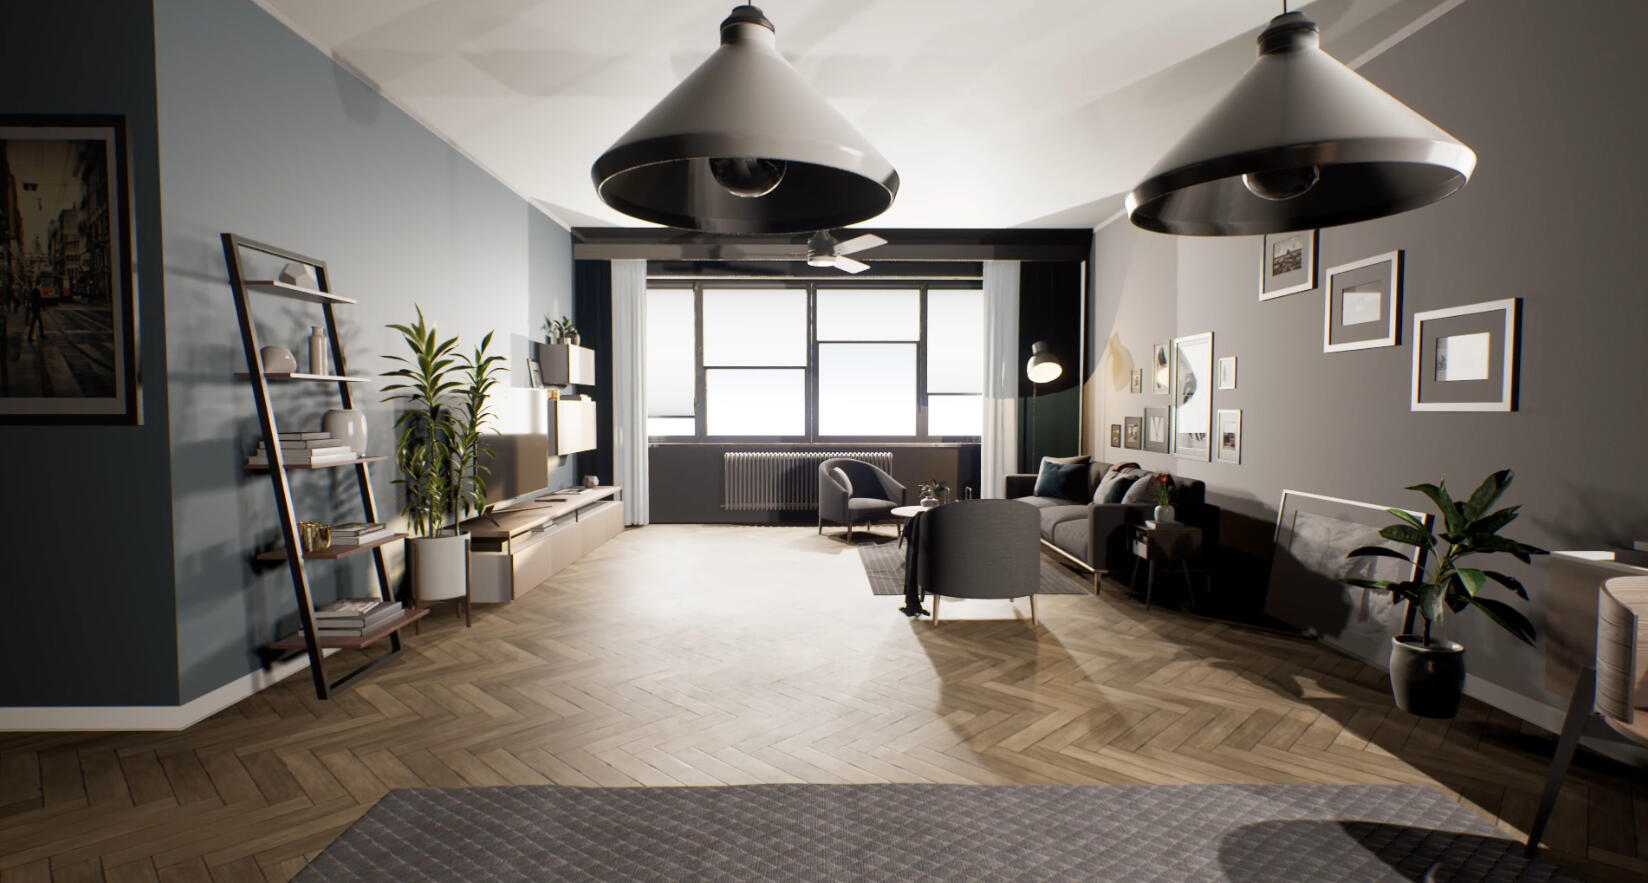
I downloaded a scene with props, and implemented a first person controller, allowing a player to move around in the scene.The scene is downloaded from ArchVis and then put into Unreal Engine 5.
I picked it specifically because I wanted an environment that would look normal and everyday-like to everyone, in order to easier showcase the shaders and what they look like.I created different copies of the normal environment and put them into different levels/maps. I then created the shaders, and put them as post-processes in their respective level blueprint graphs.After that I created the portals the player goes through to travel to each level, and made the right references in blueprints between them and their corresponding levels/maps.Scrolling down below you can see the different shaders and their respective nodetrees as they are in the scene and game engine.Below them is a showcase video of the shaders, recorded in engine.
Pictured below: The normal environment in Unreal Engine 5. No shaders active.
Further down: clickable images of the shaders and their nodetrees in UE5.
Dither shader


Outline shader


Cel shaded shader


Matrix shader (nodetree)


Further down: video of the shaders, post-processes and first-person controller, recorded in-game inside UE5.
3.
Video of the shaders inside UE5.

Bioshock
1.
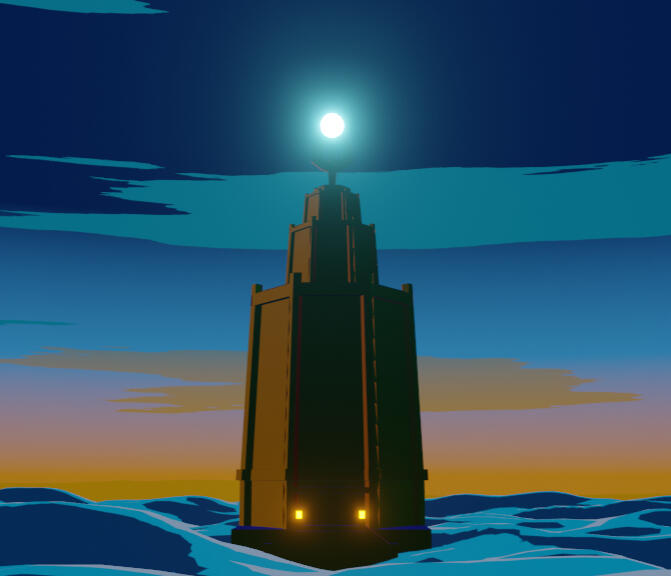
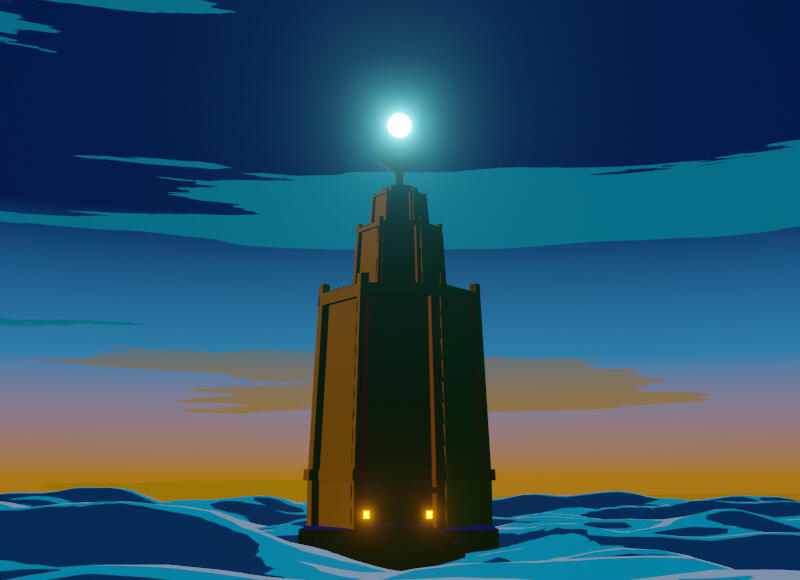
No gods or kings, only man
Nov.2021 / Blender

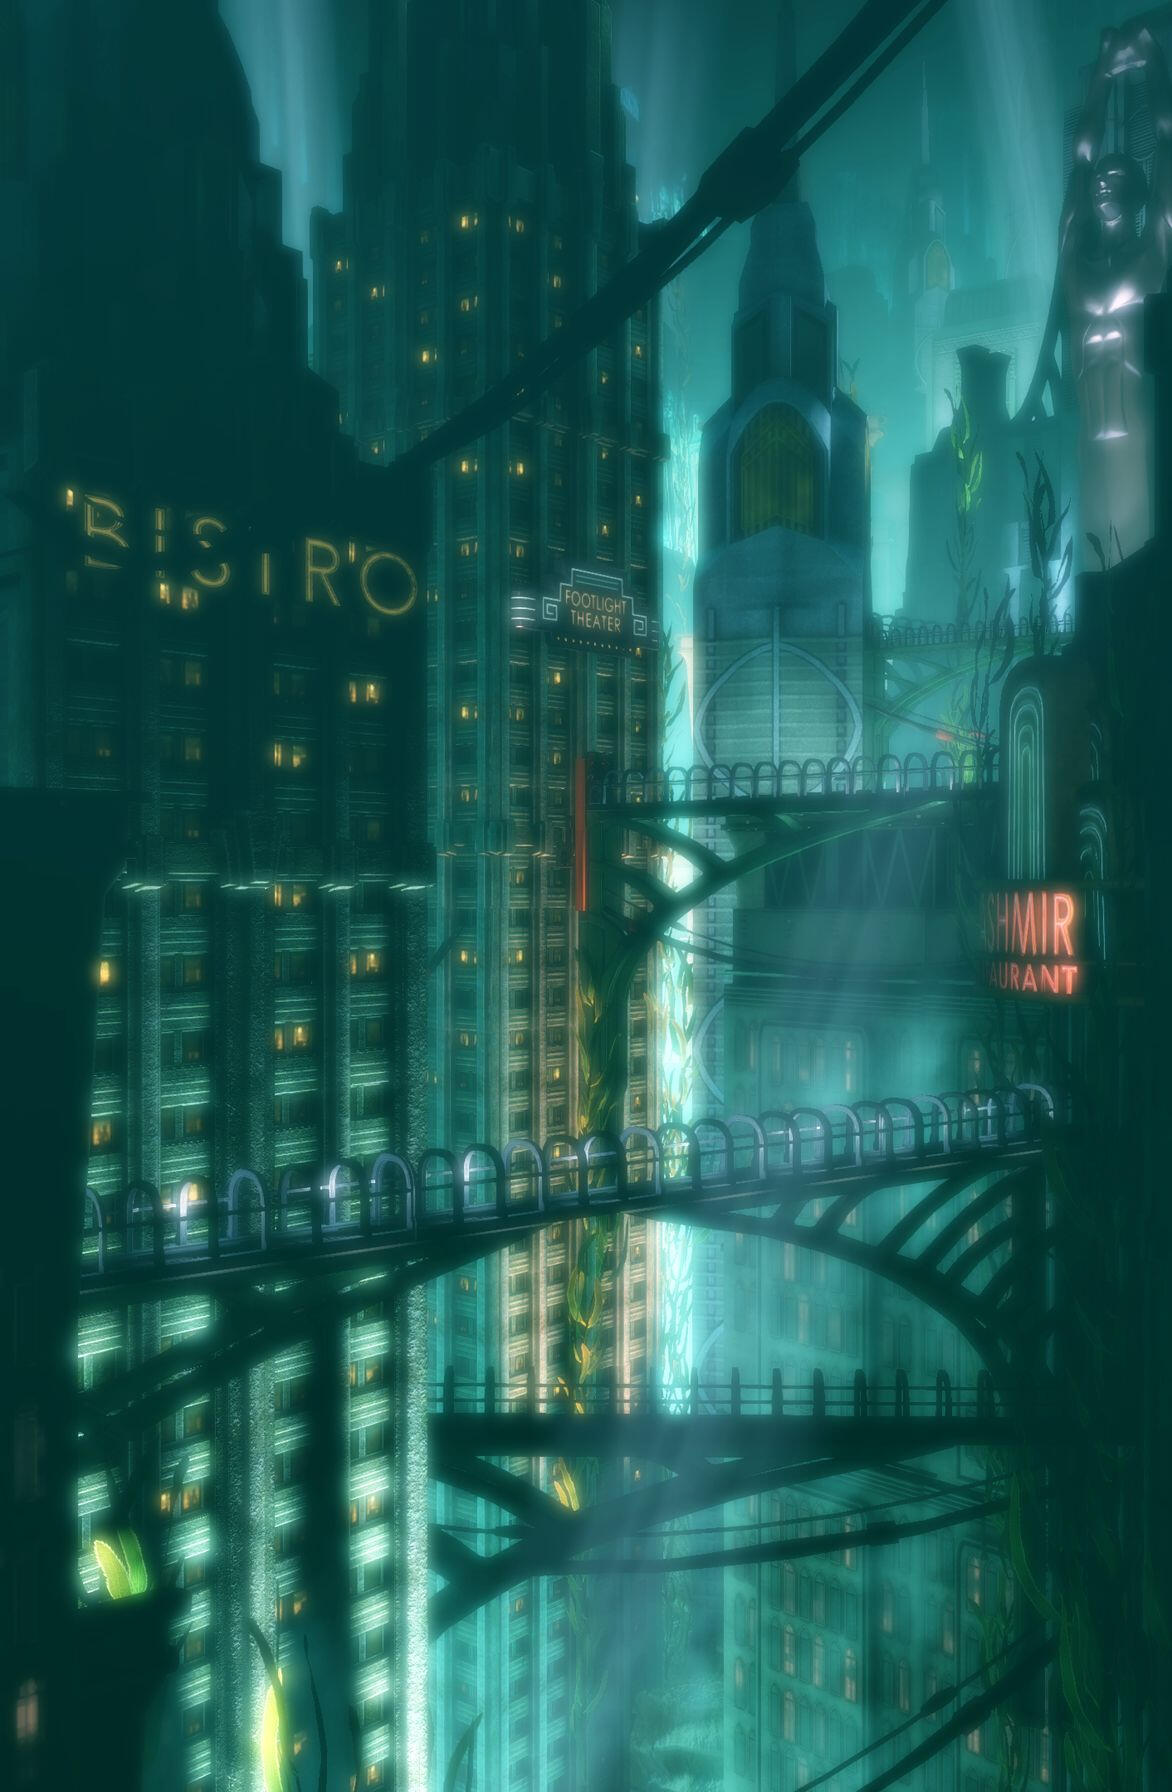
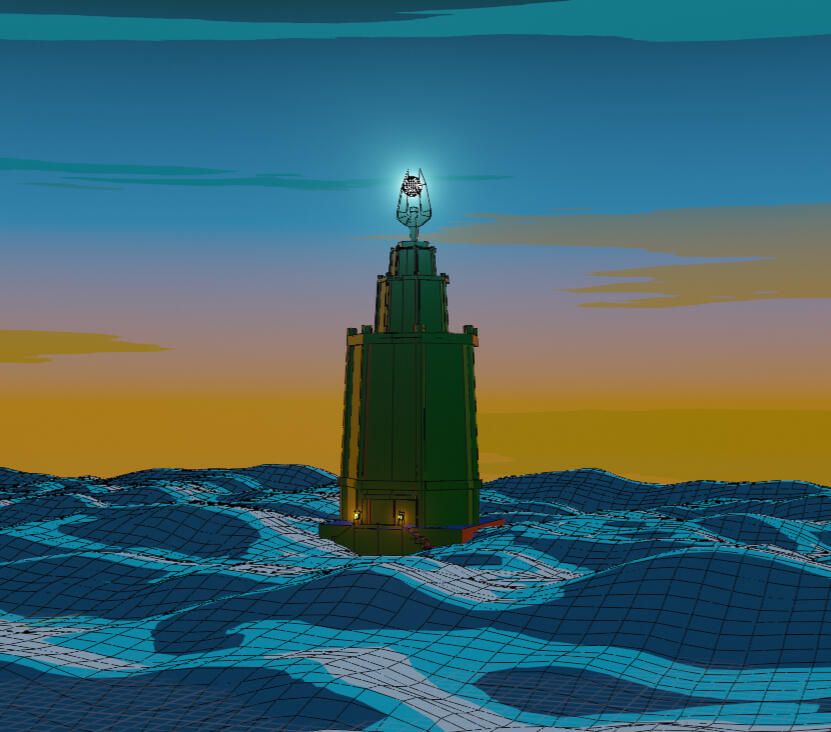
I've always loved the Bioshock game series, and the world it depicts regarding both the underwater city of Rapture, and the sky city of Columbia.I wanted to create my own version of the intro cinematics from the first game in the series, where the player find themself at a lighthouse in the middle of the sea.From the lighthouse the player takes a batysphere down to the city of Rapture, while the city's founder, Andrew Ryan, gives a voice message explaining why he created the city at the bottom of the sea.In my own version I made it as a colour study of how different colours, and their shiftings, can go from giving a sense of peace and security in the beginning, to invoking a sense of unease and danger the closer to the end one gets.
2.
The process started with reference gathering, and then moved on to storyboarding, and later on to 3D modeling and shader creation.

Example of storyboard

3D models

3D models with shading and lighting

Node tree of the sky shader
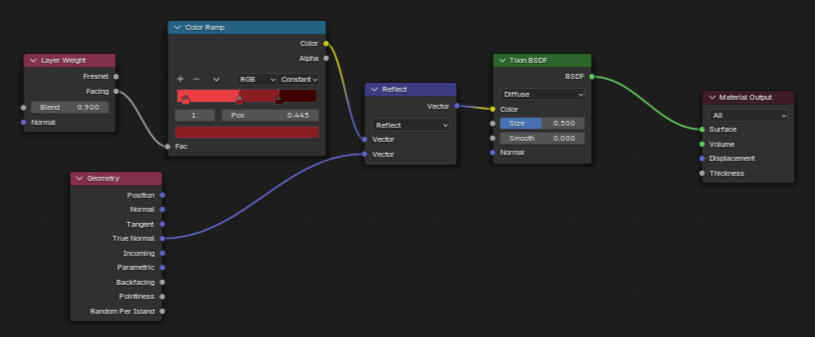
Node tree of the buildings shader


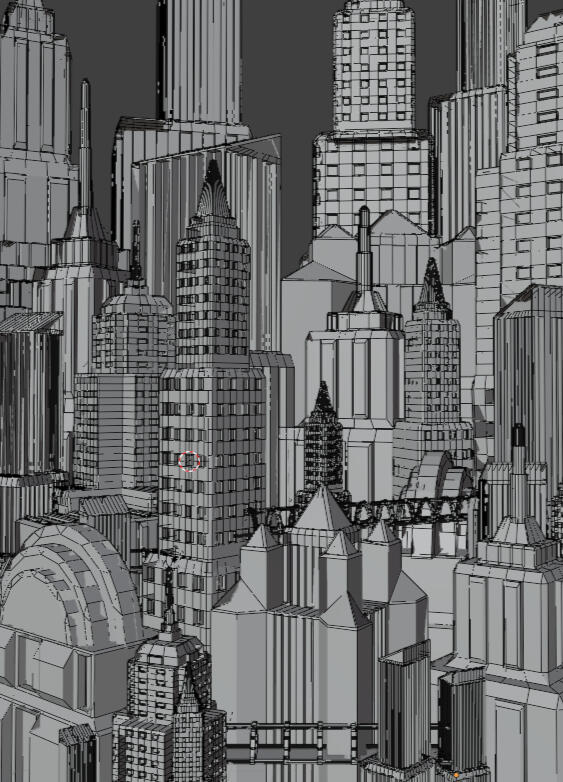
The city starting to take shape, seen here in wireframe mode
3.
Next came object placement, shot compositioning, scene lighting and animation.

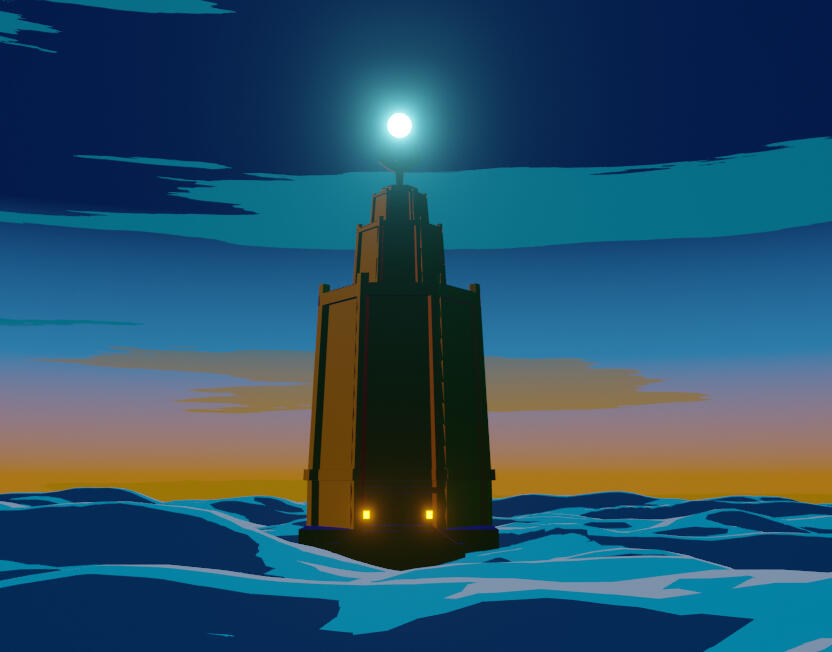
The bathysphere arriving to Rapture

3D models with shading and lighting


4.
The finished product.
The audio is taken from the game itself.
Hello, and welcome!I'm Johan Axdorph, and I love bringing all kinds of ideas to life in 3D.I'm currently enrolled at YRGO in Gothenburg, studying the Industrial Technical Artist programme, and I have my background in video games with a bachelor's degree in 3D Animation from the University of Skövde, Sweden.I've worked on many different projects within both video games and product marketing, and towards clients such as World of Volvo, Kappa Bar and SNRGY Studios.I'm big on teamwork and working towards a common goal, and I'd love to help you reach yours with 3D visualisation.I love to talk ideas, so don't hesitate to get in touch with me through my contact page or on LinkedIn.I'm currently based in Skövde and Gothenburg, Sweden.Let's bring your ideas to life!

My toolbox
Blender | Unreal Engine 5 | Unity | Houdini | Maya | Premier Pro


Contact
Have any questions or want to get in touch?
Don't hesitate to contact me.